How can support and resistance zones be drawn effectively? Just look at these three points to identify key levels

The same level was tested three times—should you follow it or avoid it the fourth time?
In trading, many people have encountered a similar situation: the same support zone, price has come back to touch it three times, and each time it held and bounced. Now the fourth test is here—follow or not?
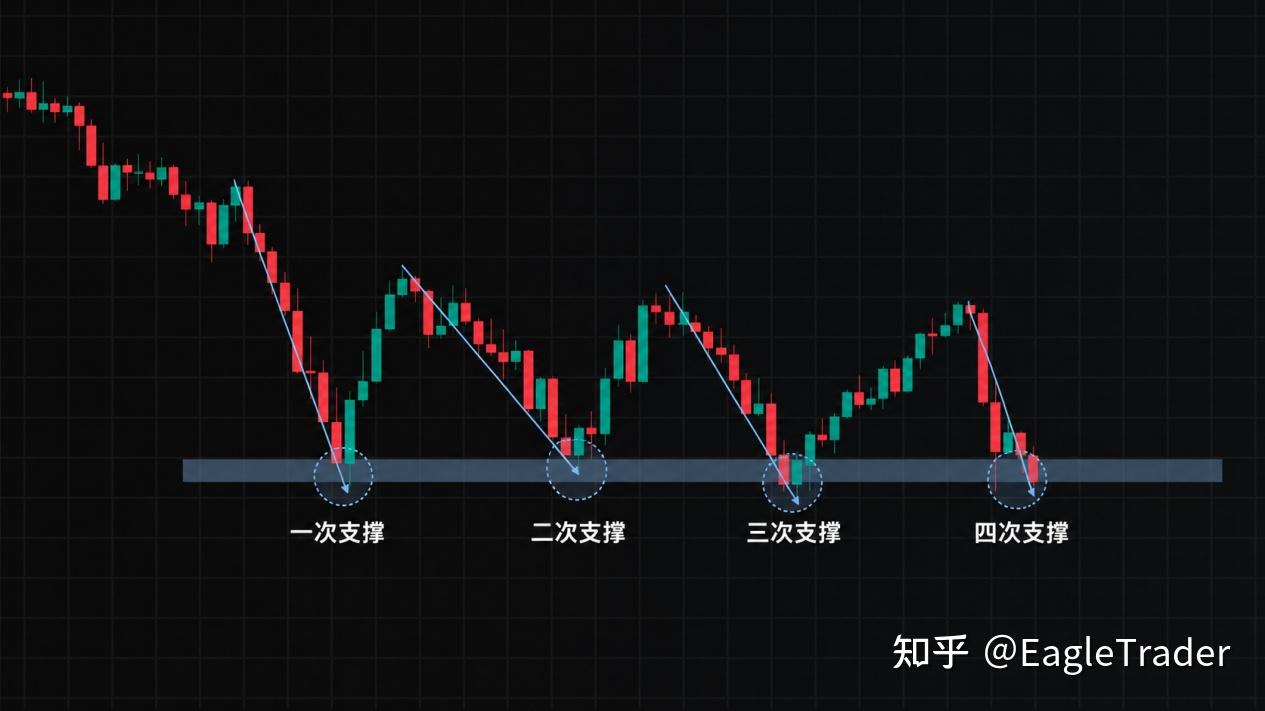
There is often debate about this in trading circles. Some say the more times it is tested, the stronger the support, so go long blindly on the fourth test; others say the buying pressure has long been exhausted, and once the fourth test breaks, price will plunge.
Looking back at a large number of trading cases, you will find that both outcomes really do exist. So where exactly is the problem?
The answer is not complicated: the number of tests itself is not the key. The key is whether the level you marked is truly a “key support zone.”
What you drew is not a support level; it is psychological comfort
When many people draw support and resistance levels, they habitually draw a line accurate to four decimal places. Price touches the line and bounces—so the drawing seems accurate; price breaks below it slightly and they stop out, only for price to immediately pull back—they get washed out again.
The problem is that in real price action, there is no precise price at which all traders make the same decision at the same time.
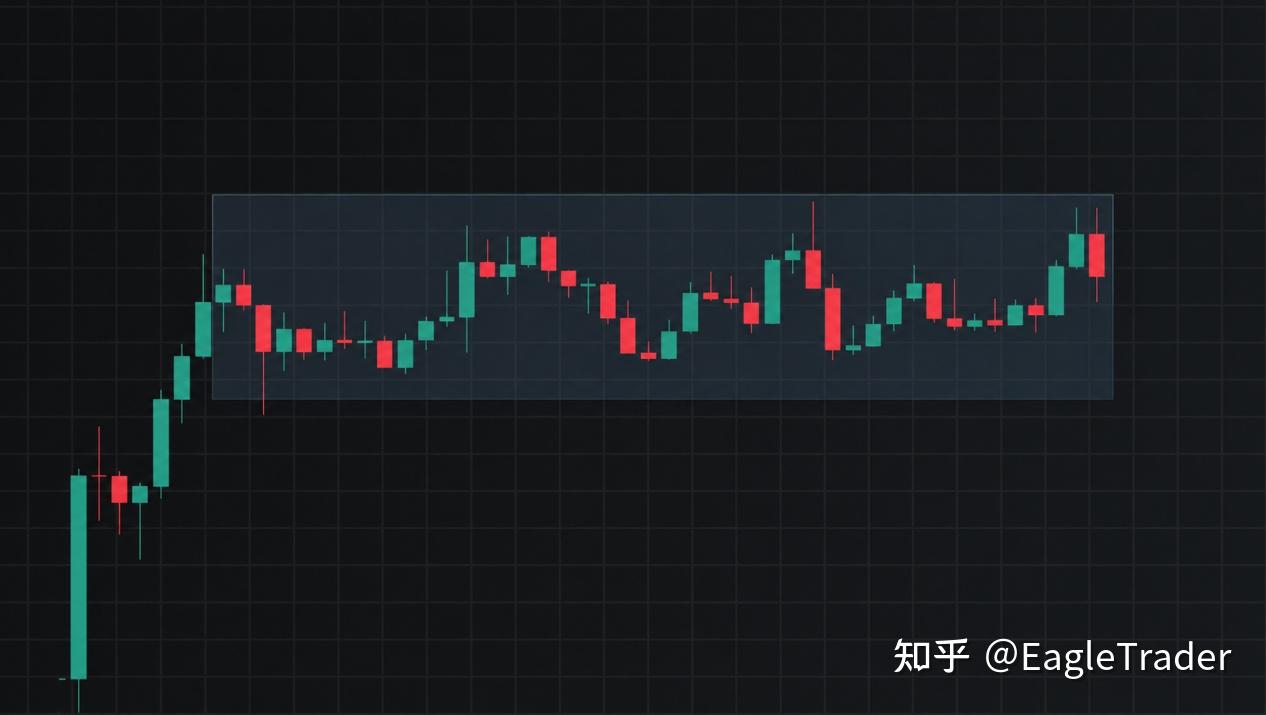
Some will enter early, some will wait for price to go a little deeper, and others will wait for a confirmation signal before acting. Reflected in price action, these decisions mean price will repeatedly pause and turn within a range, rather than piercing the exact same point every time.
The more precise the line you draw, the more easily it is disrupted by normal fluctuations. A slight break below is taken as “support failure,” and a pullback is called a “false breakout”—getting slapped in the face repeatedly is not because the market is cunning, but because there is a fundamental bias in your understanding of support.
A more reasonable approach is: frame the range where price repeatedly produces important changes as a zone that requires focused observation. Support is not a line, but a band where “once price reaches here, price action becomes worth paying attention to.”
What kind of level is worth spending time observing?
Once the zone is drawn correctly, the next step is to judge whether this zone has real reference value. You can start from three dimensions.
First, the number of effective touches must be sufficient.
The emphasis here is “effective touches,” not “touched many times.” If price keeps sticking within the same zone, with several candles moving back and forth through it, it may look like seven or eight touches, but in reality it can only count as one test. Only when price first clearly leaves the zone and then comes back again does it count as a new independent touch.
The more such independent touches there are, the more it shows that the market has paid attention to the same price range at different times, and the reference value of the zone is naturally higher.
Second, whether a clear reaction occurred after the touch.
It is not strong merely because price fluctuates widely within this zone; rather, it is about whether the zone can clearly change the original state of movement. For example, if price was originally falling continuously, and after reaching this zone it clearly turns upward and travels some distance—that is what counts as an effective reaction. If the decline only slows, grinds through a few candles, and then continues falling, the significance of this level is limited.
Third, whether support and resistance have swapped roles.
A level originally kept suppressing price, with price pulling back every time it reached it—that is resistance. Later, price breaks above it, then retests the same range and rises from there again—the original resistance has become support. The reverse is also true.
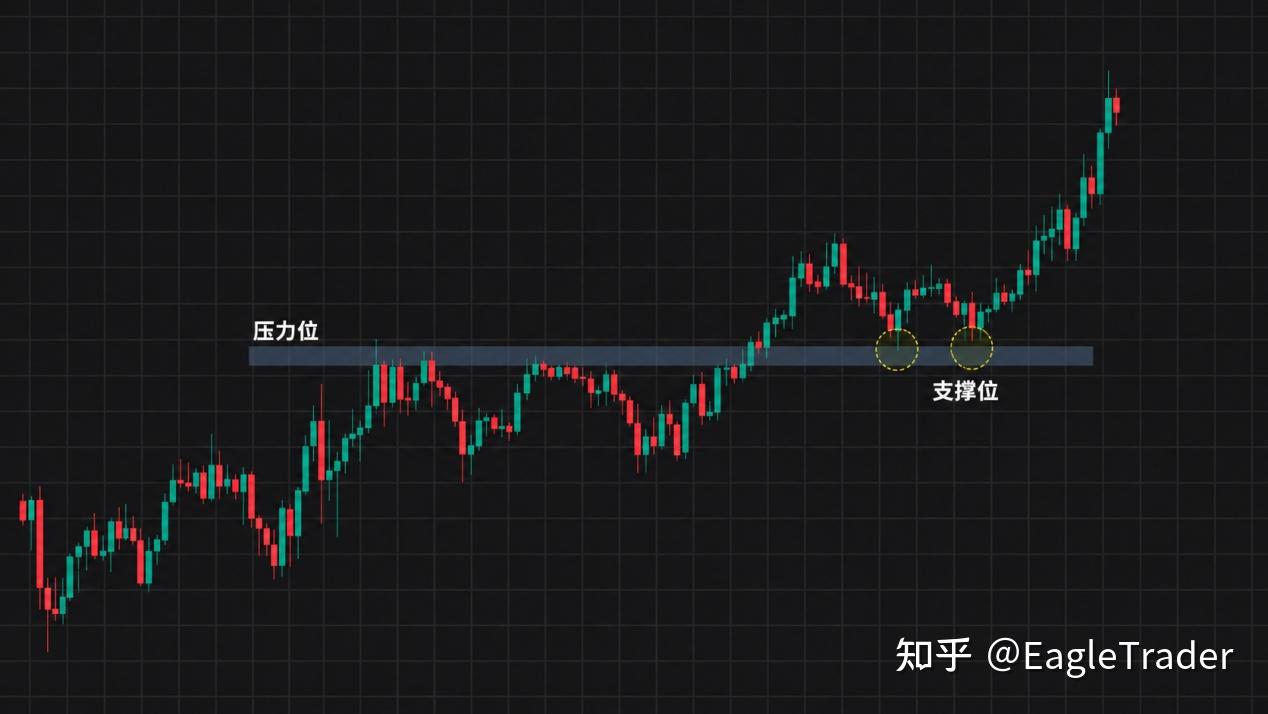
If a zone has served as both support and resistance, it shows that both bulls and bears have truly battled there. The reference value of such a level is far higher than a place that only bounced once.
Recognition ability requires repeated training
These three standards are not difficult to understand; the difficult part is whether you can quickly identify them when opening an unfamiliar chart.
Which touches count as effective tests? Which zone has produced a strong reaction? Where has the support-resistance swap been completed? These questions cannot be answered well enough by just reading a few articles or becoming familiar with one or two cases; you must form judgment habits through extensive practice.
For traders, a simulated environment is a suitable setting for training this kind of recognition ability. Take EagleTrader proprietary trading as an example: its simulated funds restore real market conditions at 1:1, and traders do not need to bear the pressure of real losses, so they can repeatedly verify the same set of judgment standards across different instruments and different timeframes.
The practice method is not complicated: select historical price action, first frame the key zones yourself, then scroll forward to see how price actually behaved after reaching these zones. Summarize the experience when your judgment is correct, and analyze the reasons when it is wrong. With enough practice, when you open a chart, you can often identify at a glance which zones are worth paying attention to.
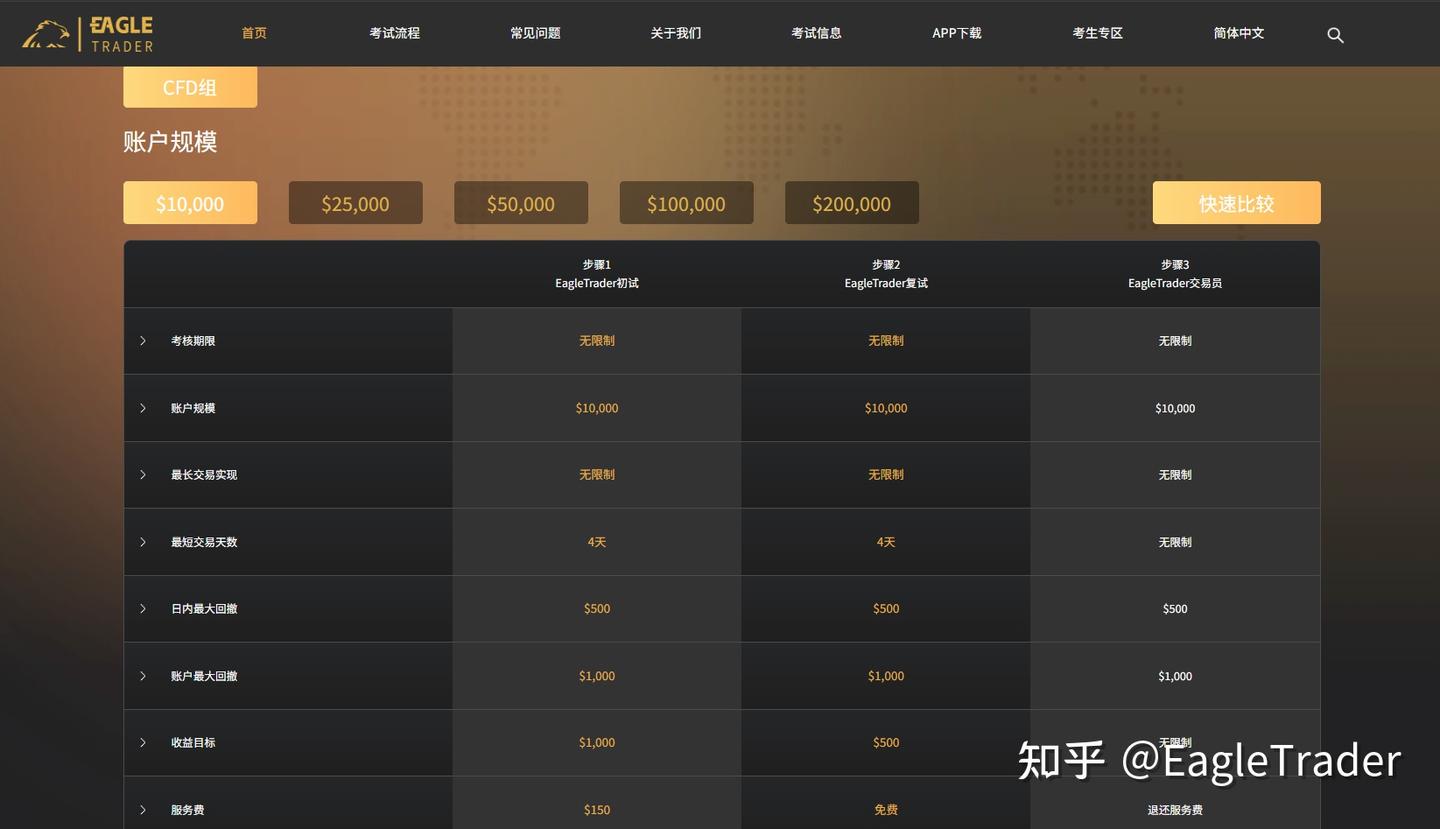
In addition, EagleTrader itself has clear risk control rules, which can help traders develop the habits of using light positions and setting stop losses during trading, avoid arbitrarily taking heavy positions because there is no pressure in a simulated environment, and ensure that technique and discipline improve together.
Support is not a prediction; it is the starting point for observation
Back to the original question: the same support zone has been tested three times—should you follow it on the fourth test?
If these three times were relatively independent effective touches, price produced clear reactions here, and a support-resistance swap also occurred—then the more times it is tested, the more it shows that this zone is worth paying attention to.
But “worth paying attention to” does not equal “it will definitely bounce.” The role of a support-resistance zone is not to let people guess the exact low and high, nor to prove how precise the drawn lines are, and even less to let people ignore the trend and buy the bottom whenever they see support.
Its real significance is to remind you: after price reaches this range, price action is worth starting to observe carefully. As for whether to follow and how to follow, you still need to make decisions based on the trend, signals, and your own trading system.
There is no once-and-for-all answer in trading, only methods that are continuously verified. And the best way to verify is to keep practicing in a low-pressure, repeatable environment.
Ready to take on EagleTrader Max?
No upfront evaluation stage. Trade immediately once funded, with up to 90% profit split.